This article explains a fix to an odd issue, where suddenly, mid-build, an error dialog pops up, complaining about your PC being unable to run “this app”. The fix is luckily straightforward, even if it’s a bit odd.
Let me explain – but first, let’s define the issue a bit better. What went wrong?
Problem
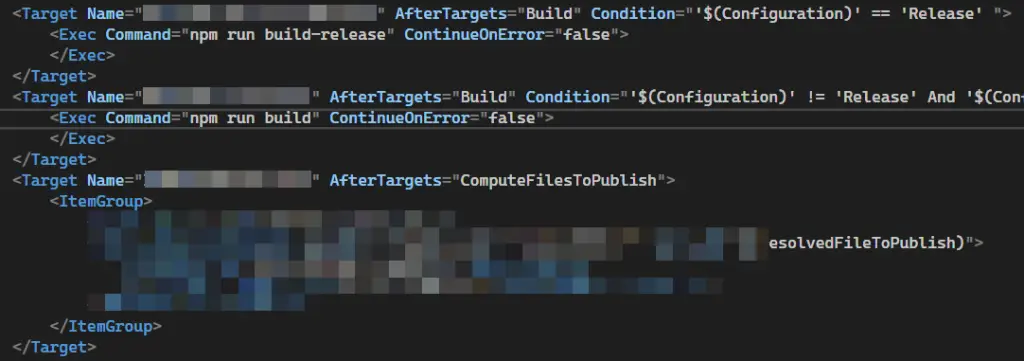
So, when running a build that includes some steps executed by node (either defined in your .csproj for your normal build definition, or as npm scripts to run with “npm run build” or similar command). But instead of the expected output – like, well, a build succeeding – you’ll get a UWP-looking pop-up complaining about an app that can’t run on your PC.
Helpfully, it tells you to get in touch with the software publisher. Somewhat like shown below:

If you’re lucky, you might also see a few “Access is denied.” errors (or similar) in the build output. The build itself is stopped and won’t finish even with any cleaning steps or even a restart.
How fun.
But… What is this app that can’t run? Is it complaining about YOUR app? Do you need to check with yourself?
This is turning into quite the conundrum. But fear not! A fix is on the way.
Reason
If your issue is the same as mine – and we should know pretty soon if it is – it’s caused by an outdated node (and hence, npm) version being in use.
No matter what your package.json says, not all theoretically valid npm versions work with all apps :)
In my case, I had a couple of build tasks defined for my project, and they would be executed during a build.

And the tasks were defined in a package.json -file that also described supported node versions (and hence npm versions). Something like below.
  "name": "Contoso.Solution",
  "version": "0.1.0",
  "scripts": {
    "watch": "tsc -v && tsc -w",
    "build": "npm run lint && tsc -v && tsc -b",
    "tsc": "tsc -v && tsc -b",
    "lint": "eslint .",
    "contoso-build": "contoso-cli build"
  },
  "engines": {
    "node": ">=14.16.0"
  }
}
Now, I had pulled the whole repository after someone else had worked on it. Typically, that means the package.json file would be functional.
But, alas – this time it wasn’t. In all likelihood, it was just incompatible with my local environment.
One of the build tasks (I’ll let you guess which one – it was special, and looked a bit fishy) was far from compatible with node 14.16.0 that I happened to have selected with nvm.
To be fair, the other person probably had a much newer node version in use, and it worked just fine for him.
I suspect my issue was further complicated with an old, possibly 32-bit version of node being installed. Why I would have a 32-bit version of node installed with nvm, I do not know. But when it IS indeed in use (and in use it was for me), the output looked like this:
> nvm list
  20.5.1
  18.17.0
  14.16.0
But when I later had 18.17.0 selected, it looked like this:
> nvm list
  20.5.1
* 18.17.0 (Currently using 64-bit executable)
  14.16.0
I guess that.. Kind of explains it?
Solution
Update your node version. For me, it was really as simple as that.
Let’s take a closer look at how to best do that in the steps below!
Time needed: 10 minutes
- Verify which node version you’ll want to use
The compatible range of node versions is likely defined by your dependencies. Now you’ll need to figure which version actually DOES work with your project.
Trying the latest stable version is always one possibility. Or asking your colleagues about which versions they’re running :)
Figuring that out can be done by running this in the console:node --version
Furthermore, if you’re using nvm, you can run this to see a list of node versions installed, and which one is in use.nvm list - Download it (manually or using nvm)
If you don’t need to care about legacy projects which only support outdated node versions, you can just download the latest node.js version and be done with it.
But if you need to occasionally switch between the versions, you need something like nvm. NVM – Node Version Manager – makes it fairly straightforward to run something like this to download an updated node version (or rather, any version you desire):nvm install 18.17.0
You can also run this to install the latest:nvm install node
You could probably also use something like “n” if you’re on some hippy Operating System and want to spare your precious laptop’s keyboard by typing just one letter instead of three. I’m using a Dell and keeping our relationship strictly work-related – so I treat it like the workhorse it is. I can afford to type 3 letters. - Select it to be used
If you’re not using nvm (or n), ignore this step. You’re probably good after installing the update.
But if you are using nvm, run something like this to set the version you just installed to be used:nvm use 18.17.0
And there we go!
Did you run into the same issue? Was it resolved? I need to know, because I don’t want to be the only one who has run into this 😂 Let me know in the comments -section below!
References
- Microsoft’s great documentation on using node.js on your local Windows dev box: https://learn.microsoft.com/en-us/windows/dev-environment/javascript/nodejs-on-windows
- CSOM suddenly throwing exceptions when trying to access list contents in SharePoint? A weird fix. - April 2, 2024
- “Predefined type ‘System.Object’ is not defined or imported” and other System namespace stuff missing in your solution? - March 26, 2024
- How to import GraphQL schema to Postman in Windows? - March 19, 2024


