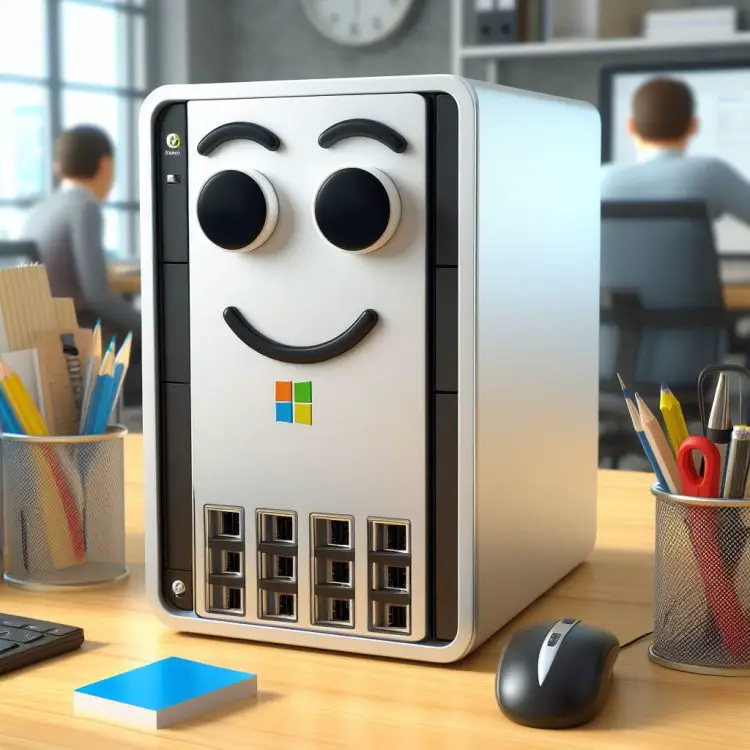
Time for something completely different: Hardware stuff. In this article, I’ll explain how to upgrade Synology DS423+ NAS’s RAM memory, which super-cheap RAM memory I used, and a little bit about how I ended up with this device in the first place.
Anyway. Let’s get to it.
Background
A while back, I realized I need to update the machine hosting my Home Assistant Docker container. I was hosting it (and my other Docker containers) on an old Windows laptop I got from my first day job as the machine was being retired. That 15-year-old machine still ran, although just barely. But the final nail in the coffin was one Home Assistant integration requiring UDP broadcast from the container – and that won’t work in Windows.
I also just happened to have my old and trusty D-Link NAS workhorse broken while moving offices (well, “moving continents” would also be accurate, but I digress) and I needed a new local backup solution as well.
After brief googling, it became quite clear Synology was the way to go. My old NAS was a simple D-Link that worked but never really impressed me (or anyone else for that matter), whereas most reviewers seem to quite like Synology’s devices.
And after asking around for recommendations, I essentially got the feedback that I should just get the best one and not try to save any money as I’d regret it.
But… Those kind of recommendations tend to come from people who care about hardware more than I do. And while I appreciate people’s experiences on kit that I plan on acquiring, of course I have my own preferences – and I don’t need the best stuff (I drive a 2010 Ford, mind you), have rarely regretted saving money, and don’t mind doing a bit of browsing to find a deal.
Besides, my last NAS had 2 trays, no configuration options at all and was just overall very tiny and unimpressive – so I figured that even a small step up from that ought to be enough to satisfy my needs.
Besides, what on Earth would I do with a 16-bay NAS… Sure, being able to expand my storage almost endlessly is nice, but what do I use all that space for? And where would I even store that Behemoth of a NAS device anyway?
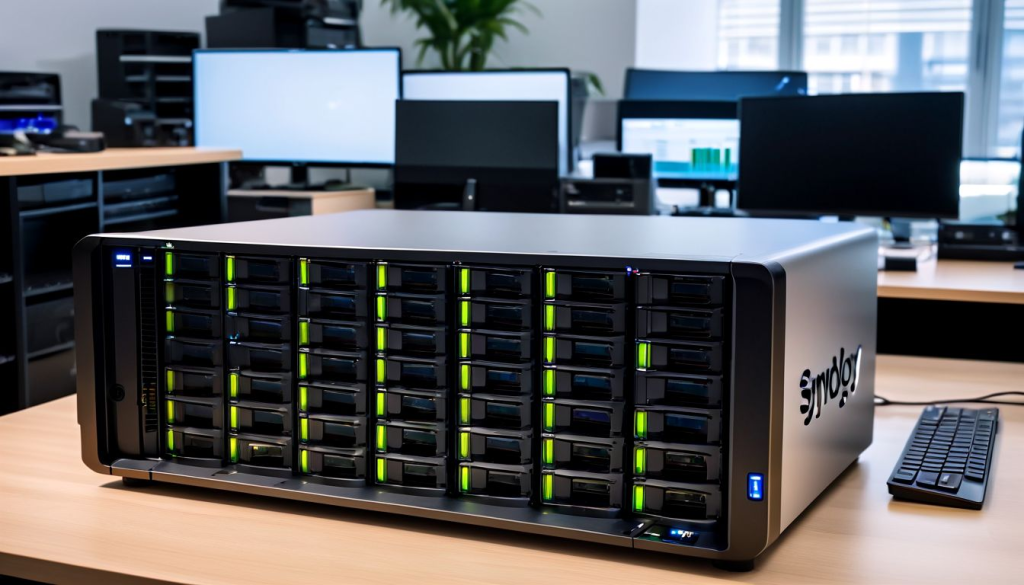
Surprising, perhaps, but I can see what it was on about – the picture above was generated by img2go instead, and after looking at it I almost already regretted not getting a 64-bay NAS instead… Even if I needed to remortgage my house to be able to afford one.
Armed with that information, I went shopping, and after some browsing I ended up getting a 4-bay DS423+ on sale (the link probably does not take you to the sale item, but it’s the same product on Amazon) instead of the admittedly cooler, more heavy-duty options.
It’s a tiny box, just barely big enough to house 4 x 3.5″ HDDs. But it has more LED lights and configuration options than my last device! And I can hide it behind my cherished La-Z-boy that I brought with me from Canada. What’s not to like?
Problem
Seriously, I’ve had the DS423+ for a while now, and it’s working great. Nice piece of equipment.
Then again, after a couple of months of using the little device not only for backups, but also to host my Docker containers (most importantly Home Assistant), I figured it could use some extra RAM.
I mean… It didn’t really run out. Yet. But since it has an upgrade slot and memory is cheap, I figured I’d update it well in advance of running into any issues.
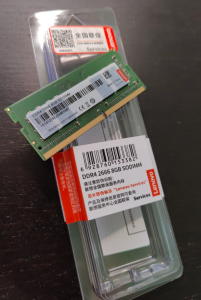
But memory is only cheap if you can choose what to buy, and Synology really likes to bitch about everyone else’s RAM memory modules. They only recommend their own ones (for a pretty hefty price – the cheapest 8gb module I could find locally was over 200 euros), and warn that your device might be in unsupported state if you buy any memory that’s isn’t gold-plated and platinum-wrapped.
Being the cranky old man I man, I figured I’d buy the cheapest, definitely non-original memory module instead and see if it works, even if only to spite Synology (whom I do appreciate – I have a complex relationship with hardware providers). After all, who wants to buy expensive stuff that works for sure, if you can cheapskate it instead and feel like you’re living on the edge? 😃
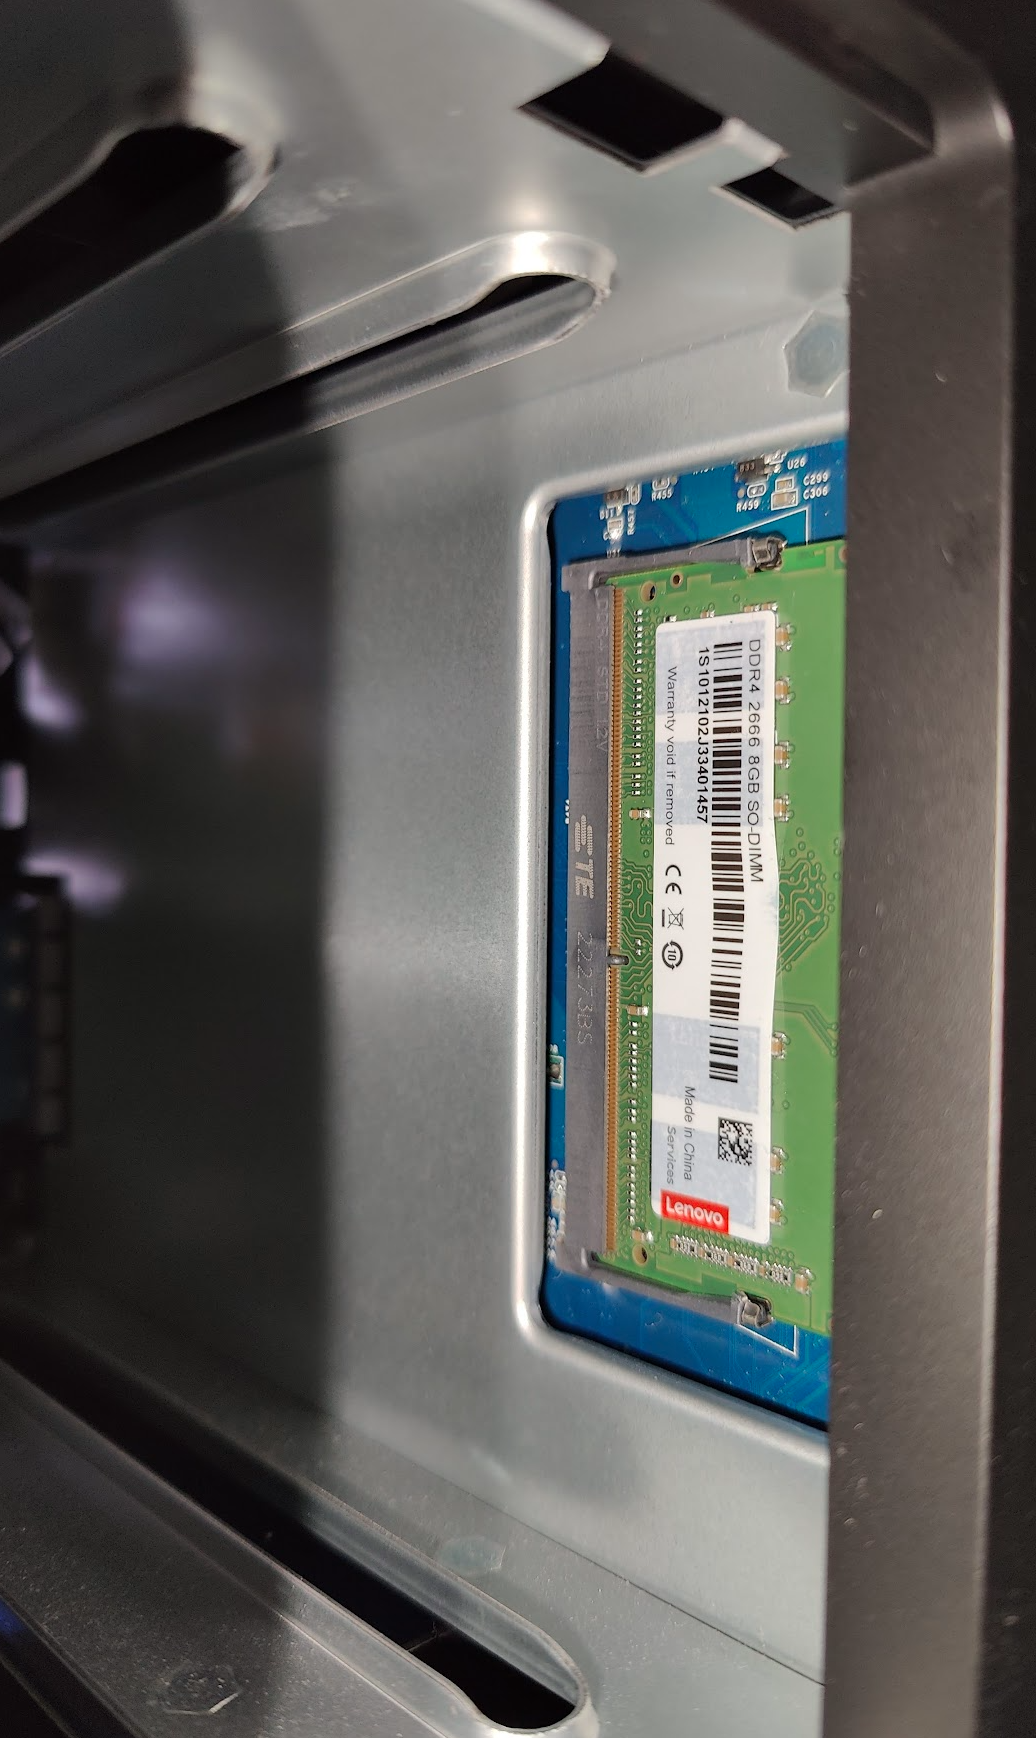
So long story short, I bought a Lenovo(?) DDR4 module for ~15 euros from AliExpress. You can probably get a similar item on Amazon, but at the time of writing, this is the closest one I found.
On with the experiment, then…
Solution
After waiting for a few weeks, I got the module. It looked good and the dimensions matched my expectations – I’m aware of all kinds of cheap Lenovo-branded stuff being sold on the Chinese market (maybe you can buy 10-euro Lenovo earpods in Europe now, too, but I have only seen them on AliExpress), so perhaps this is a “genuine” product after all?
Doesn’t really matter. It’s not what Synology recommends, but it might still work. Let’s get installing.
How to install a DDR module to Synology DS423+ NAS?
This isn’t going to be a very detailed step-by-step technical guide on how to install the memory module, but hopefully helpful to you anyway. And if you succeeded in finding a compatible module, you’ve arguably already passed the hardest step anyway. Smooth sailing from here on.
1. First of all, power your DS423+ down
Always a good idea to reduce the risk of lethal electric shocks.
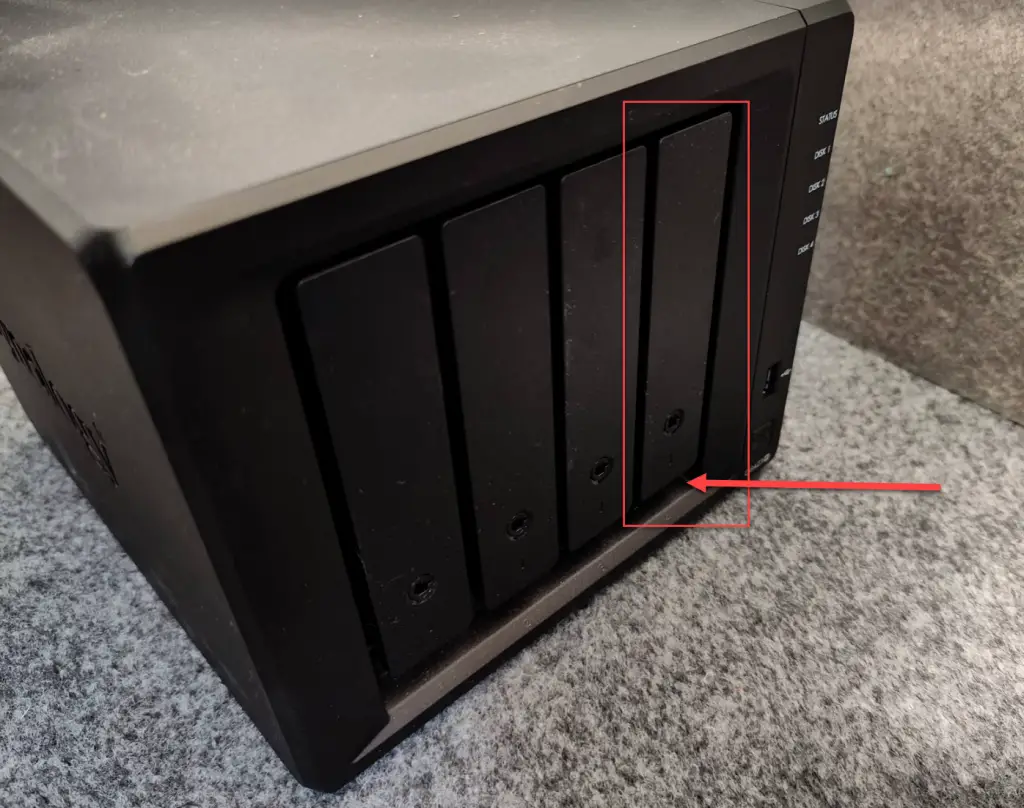
2. Open at least the rightmost bay to access the expansion slot
You can do this by flicking the bay open from the bottom and pulling the whole tray out. I just removed all of the trays to make more room since it shouldn’t make a difference – but perhaps your fingers are more nimble than mine.
3. Install the memory module
This can be a little bit tricky – but now you need to slide the module in, and the slot can be quite tight. Of course, also helps to make sure you’re pushing it in the right way.
It might take a bit of shimmying and even twisting the metal “holders” on both sides of the slot a little bit further apart, but eventually the module should slide in through the grooves/channels on each side, and kind of snap in – and at this point, the sides should latch in, and your memory module is in place nice and tight!
And if you followed my lead and bought a 15-euro memory module, even if you break it at this point, it’s not like you lost an arm or a leg.
4. Power your DS423+ on and verify the memory is found
Now it should be safe to turn your NAS on again, navigate to the web UI and see if the device finds the memory you added.
A lot of guides online show DS423+ complaining about non-genuine memory being installed – but mine wasn’t smart enough to do that. I really doubt the memory module passes any kind of spec checks the device might be performing, so perhaps Synology has simply given up on nagging instead? 😀
Anyway – with a fresh 8 Gb module installed, the memory should now show 10 Gb total.

5. Enjoy your new, almost unlimited memory!
At this point, your memory usage should drop quite nicely. Somewhat like in my graph below 😁
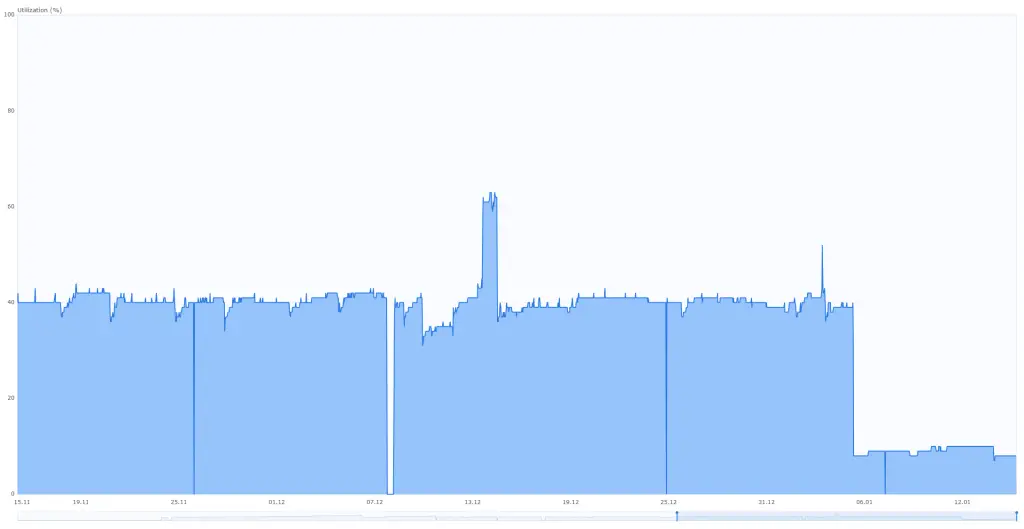
Great. I won’t be running out of memory anytime soon. I even doubled my Home Assistant container’s memory allocation! It didn’t want to use any extra, though.
And that Home Assistant integration that pretty much sparked my whole project?
Well, I got it configured, but turns out the weather station’s bridge device was incredibly unreliable, and when I bothered their technical support, they just have up and told me to RMA the bridge and all of the sensors. I ended up returning the whole set and got a refund.
So essentially, I invested some 500 euros into a new way of hosting my free home automation platform to make it compatible with a weather station costing 150 euros, and I then needed to retire said weather station before ever getting it to work.
Home Automation can be a lot of fun 😃
References
- https://nascompares.com/guide/synology-ds423-nas-unofficial-memory-upgrade-guide-crucial-kingston-sabrent-modules/
- Lenovo DDR4 2666MHz 4GB/8GB/16GB (260pin SO-DIMM Memory): Find it here
- “Performing cleanup” – Excel is stuck with an old, conflicted file and will never recover. - November 12, 2024
- How to add multiple app URIs for your Entra app registration? - November 5, 2024
- How to access Environment Secrets with GitHub Actions? - October 29, 2024
