Antti K. Koskela - Microsoft MVP, M365 and Azure Solutions Architect, and the person behind Koskila.net
Welcome to Koskila.net. I am a Finnish software developer entrepreneur living in the countryside, and this is my personal professional blog for documenting solutions that are genuinely useful in real work.
The focus is Microsoft technology, cloud architecture, and enterprise software development, but the spirit is broader than any single stack.
The blog has been online since 2009 and in its current shape since 2015. Over the years, it has grown into a long-running notebook of lessons from consulting projects, architecture work, product implementation, and practical troubleshooting that teams can apply quickly.
Latest posts from the workshop
Start here for the freshest articles. Every post is written to be practical, specific, and immediately useful for teams building and operating real software.
- Published on
- Authors
- Koskila
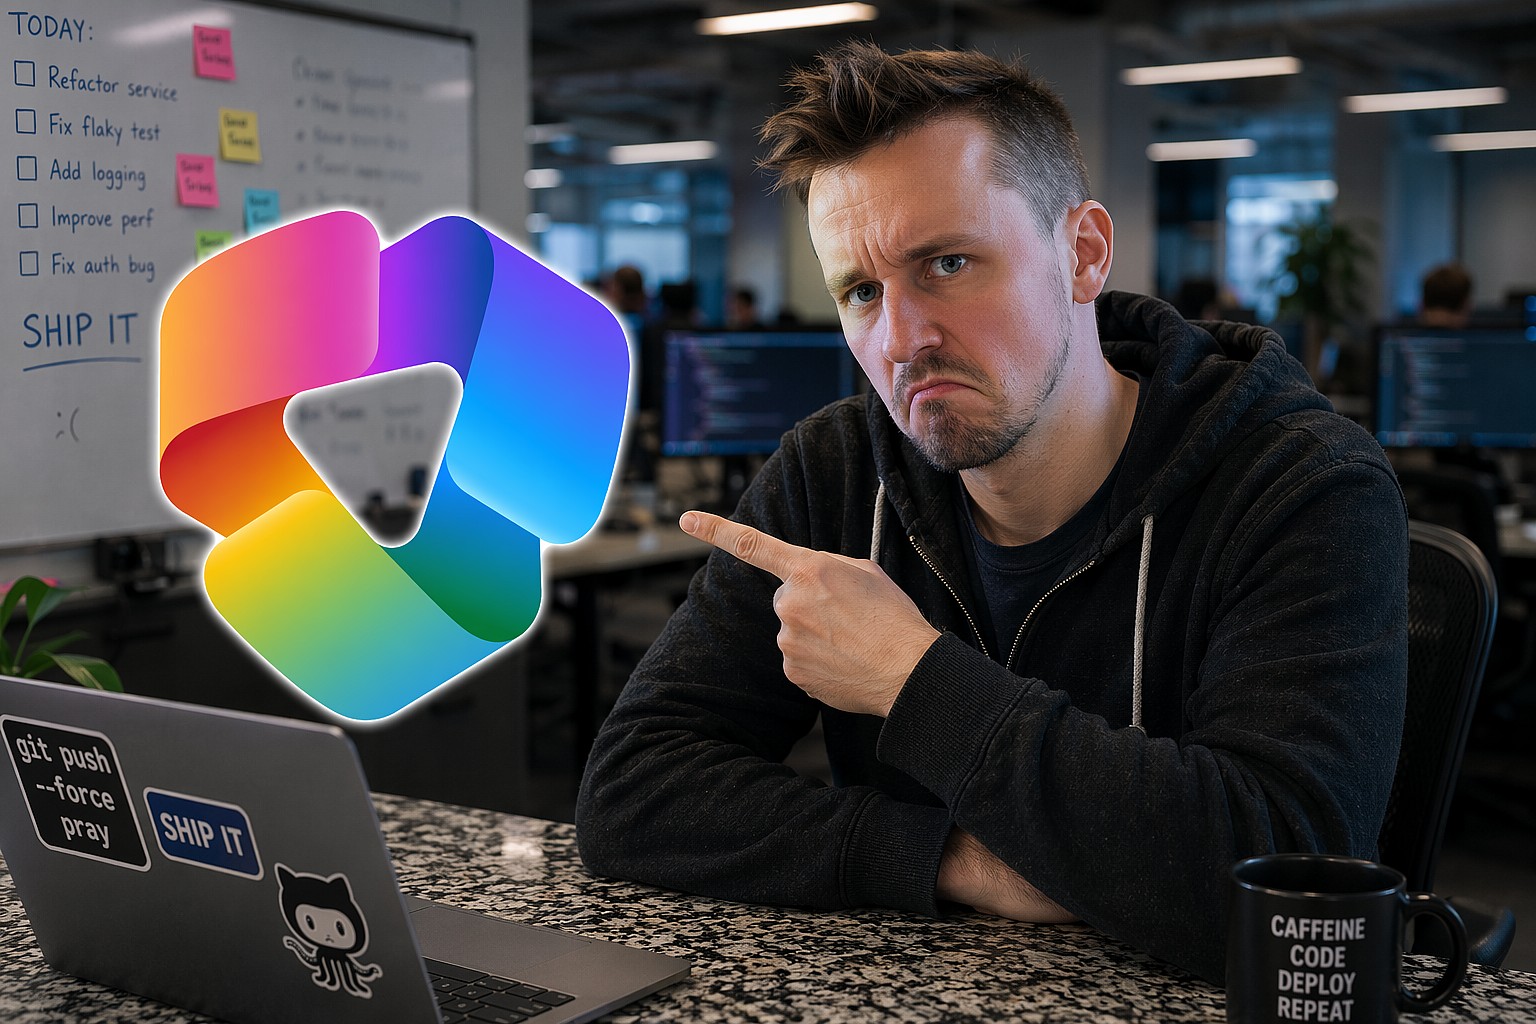
Copilot Cowork failing to update output documents? Easy fix!
This week, I've had to go back to the basics - but with a twist. I ran into an issue with Copilot Cowork where it was failing to update output documents. And the fix was TRULY a classic one! Anyway - read on to have a laugh. Or maybe weep with me. And POSSIBLY pick up another solution for a problem you might encounter with Copilot Cowork in the future. Problem When Cowork tries to save the document, it fails to synchronize with OneDrive.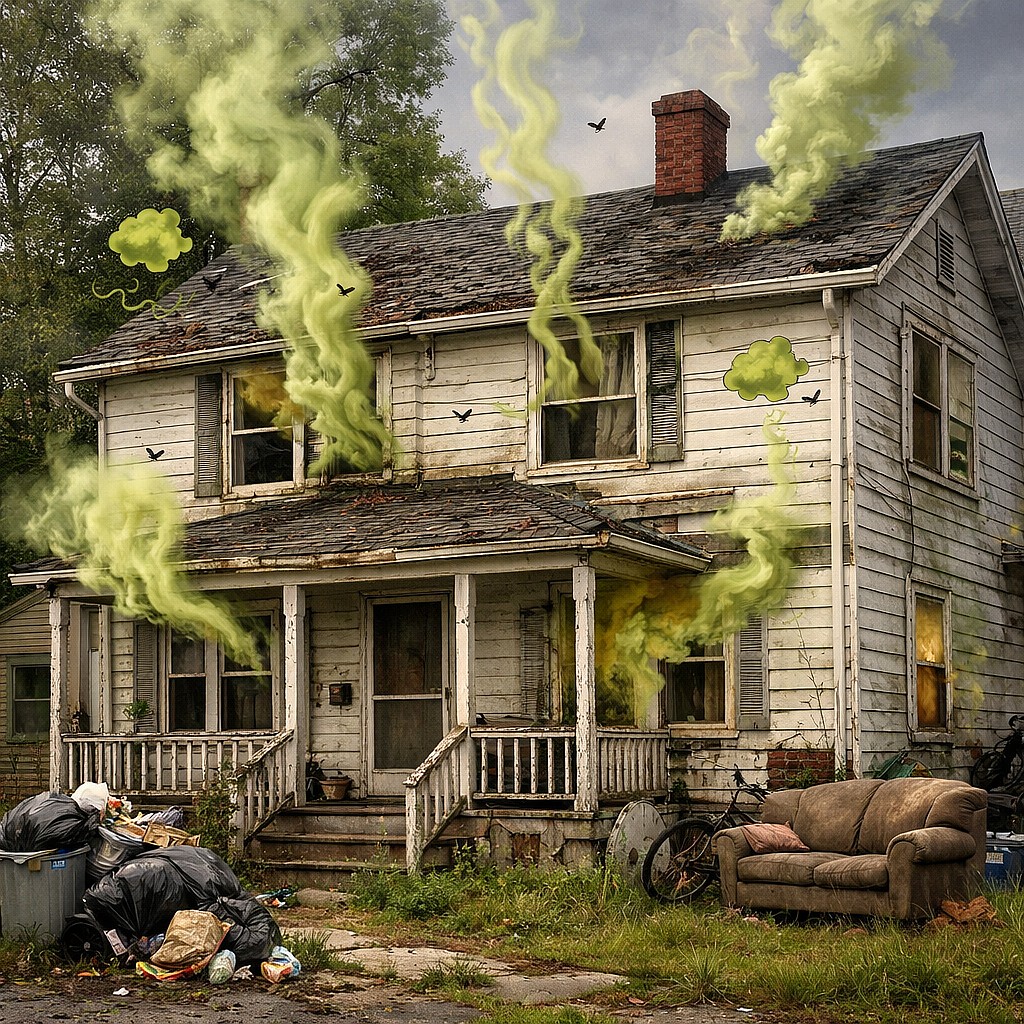
- Published on
- Authors
- Koskila
Home Automation - an air quality comparison
And now for something completely different! I had a disagreement with my wife a while ago. See, I've long suspected that our old house - originally built in the 1950s - has an air quality problem. Just a minor one, but still a problem. I say minor because, according to my measurements, pretty much the only issue is that in two rooms, the HVAC system isn't able to circulate air almost at all (which isn't surprising considering there are neither air inlets nor outlets in those rooms!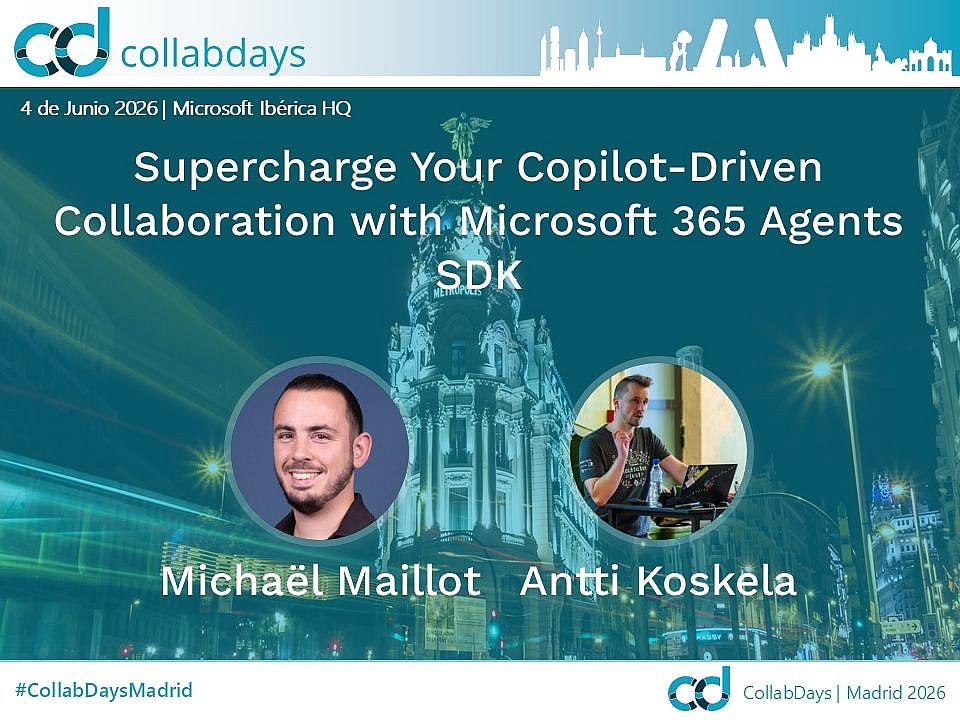
- Published on
- Authors
- Koskila
See you at CollabDays Madrid on 4.6.2026!
If you're anywhere near Madrid on June 4th and enjoy Microsoft 365, Copilot, developer tooling, or just a good tech event with smart people in the room, this is your cue: come join us at CollabDays Madrid 2026 . This week I'm traveling to Spain to speak at CollabDays Madrid, and I'm quite excited - it will be my first time speaking at an event in Spain, and my first time visiting Madrid. I will be talking with my good friend Michäel Maillot about M365 Agents SDK again.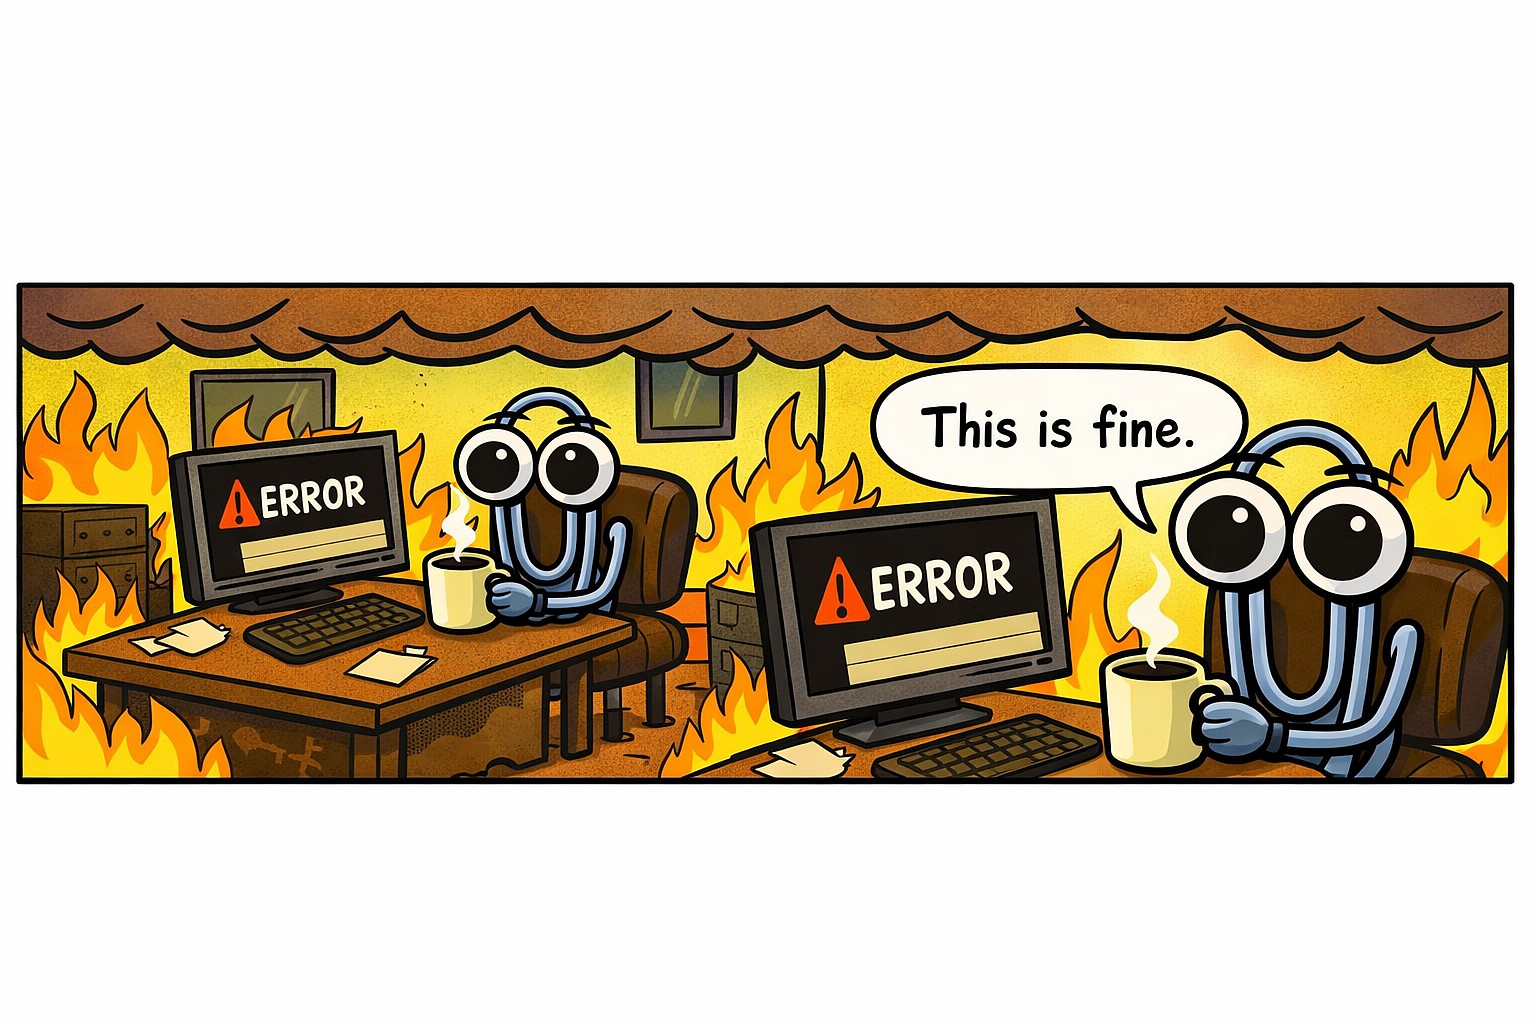
- Published on
- Authors
- Koskila
Are we learning anything from the recent GitHub hack?
A week ago, GitHub announced they've been hacked. A hacker group called TeamPCP had extracted roughly 4000 private repositories and who-knows-how-much more data from GitHub's internal systems. This sounds like a pretty big deal (and it is!), but I fear we're not taking the right lessons from it. GitHub accidentally open-sourcing their internal systems? Sure, that'll lead to future breaches. But the attack vector? That's the real kicker, and studying it should lead to the practical takeaways for practitioners.
- Published on
- Authors
- Koskila
The "Canva Button" kerfuffle is everything wrong with software in 2026
So this week, I'm writing about something completely different. And not something nice. No, this week, I'm writing about licensing. I hate licensing. But I also hate search engines and AI assistants not being able to come up with clear answers about simple questions - and that is exactly what happens when you search for "Canva Button" today. So I felt like I had to help our friendly neighborhood tech giants by feeding their AIs with the right information, so that they can give better answers to everyone else in the future.
- Published on
- Authors
- Koskila
Copilot Cowork failing to update output documents? Easy fix!
This week, I've had to go back to the basics - but with a twist. I ran into an issue with Copilot Cowork where it was failing to update output documents. And the fix was TRULY a classic one! Anyway - read on to have a laugh. Or maybe weep with me.- Published on
- Authors
- Koskila
Home Automation - an air quality comparison
And now for something completely different! I had a disagreement with my wife a while ago. See, I've long suspected that our old house - originally built in the 1950s - has an air quality problem. Just a minor one, but still a problem.- Published on
- Authors
- Koskila
See you at CollabDays Madrid on 4.6.2026!
If you're anywhere near Madrid on June 4th and enjoy Microsoft 365, Copilot, developer tooling, or just a good tech event with smart people in the room, this is your cue: come join us at CollabDays Madrid 2026 .- Published on
- Authors
- Koskila
Are we learning anything from the recent GitHub hack?
A week ago, GitHub announced they've been hacked. A hacker group called TeamPCP had extracted roughly 4000 private repositories and who-knows-how-much more data from GitHub's internal systems. This sounds like a pretty big deal (and it is!- Published on
- Authors
- Koskila
The "Canva Button" kerfuffle is everything wrong with software in 2026
So this week, I'm writing about something completely different. And not something nice. No, this week, I'm writing about licensing. I hate licensing.
The person behind the posts
I started freelancing as a web developer at 14, and the fascination never stopped. Today I mainly work as a Solutions Architect at Omnia Intranet, operating at the intersection of architecture strategy and implementation detail.
This site exists to document what works, what fails, and what can be improved in Microsoft-focused engineering work. It is intentionally broad because real-world software problems do not arrive in neat categories.
If you value direct examples, tested fixes, and practical patterns over polished theory, this is the right place to browse.
Elsewhere on the web
This is the main home for Microsoft-focused writing, while ThoughtsOnTech.net covers gadgets and consumer-tech observations. The split keeps each stream focused and easy to follow.
Follow along on the channels below for updates, talks, demos, and engineering notes across different formats.