Extend Your Windows 10 Experience for Another Year 🥰
This article explains how you can keep using Windows 10 for another year, even though Microsoft has officially ended support for it.
Background (rant)
I'm not going to lie - right now I would not buy a Windows computer. It just feels like a risk you don't need to take.
And I would know! I have bought 3 Windows machines in the last 3 years, costing me (or my employer) 4000, 2500 and 750 euros respectively.
And let me be perfectly frank: the last one (the cheapest one, which still wasn't THAT cheap) was quite disappointing.
And the other ones? They were absolute and complete dumpster fires, requiring motherboard changes, constant reinstalls, blue screening in the middle of meetings and so on.
I made my employer burn through thousands of euros, and in exchange I got laptops that kept me busy fixing them instead of working. In the process, I did master making backups on Windows and ended up writing a few blog posts about the issues - so it wasn't all doom and gloom.
But I digress. The point of this article is not to rant about Windows (even if I'm going to do it anyway), but to talk about how you can keep using Windows 10 for another year, after Microsoft has officially ended support for it.
Because on 14th of October 2025, the official support for Windows 10 was discontinued.
But in this day and age (and after all the pain I have endured setting up new laptops), I'm of the opinion that if you have a working configuration, you should not break it. If Windows 10 is serving you well, keep using it.
I have nothing against Windows 11 (even though the cheapest machine shipped with 22H2, which was already unsupported and unupgradeable to 23H2 or 24H2) - if anything, it's been a tiny bit more stable than Windows 10 in my experience.
After all, the most catastrophic issue I've had over the last few years - where the computer simply wouldn't start, could not be recovered, in short, nothing could be salvaged - happened on Windows 10!
But if it's serving you well, do NOT break it by updating to Windows 11. And do NOT waste money by buying a new Windows 11 machine - it will probably NOT be an upgrade, and you're destroying the environment in the process.
Problem
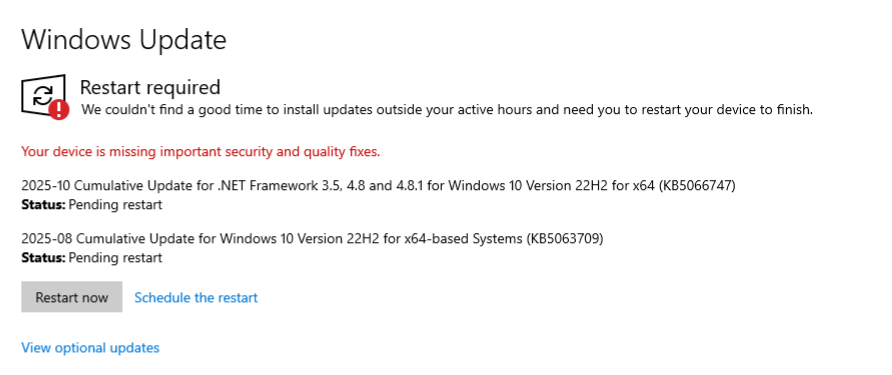
Microsoft did a "almost-but-not-quite-180" by not really discontinuing Windows 10 support, but instead offering Extended Security Updates (ESU) for another year, for almost everyone, for mostly free.
So in most cases, you can keep using Windows 10 for another year, receiving security updates and patches - and all it takes is a click of a button, and you're enrolled!
The problem is, regardless of where you are, who you are, who you know, what you know, why you want to use Windows 10, if you paid for the ESU or not, whether your system is up-to-date, a physical machine or a VM, you have roughly the same chance of seeing the "Get Extended Security Updates" button in Windows Update settings - about 50/50.
You either see it, or you don't.
On the 2 machines in my extended family that still are running Windows 10, neither one had the button initially, but both of them were enrolled after following some or all of the steps below.
I know, riveting. But this is the non-deterministic nature of Windows in 2025. You never know what kind of hallucinations you will run into.
And that's why we all love and cherish the platform, right?
So flip a coin (if you still are in possession of one), and see if you get lucky - and if not, follow the steps below to enroll in ESU and keep using Windows 10 for another year!
Solution
Microsoft has announced that they will be selling Extended Security Updates (ESU) for Windows 10, allowing users to receive security updates for an additional year after the end of support.
If you are in Europe, you can enroll for free.
If you're in the US, you can use Bing in Edge to search for something (literally anything), and you'll get enough "Bing points" (or whatever they're called now) to redeem a free Windows 10 ESU subscription.
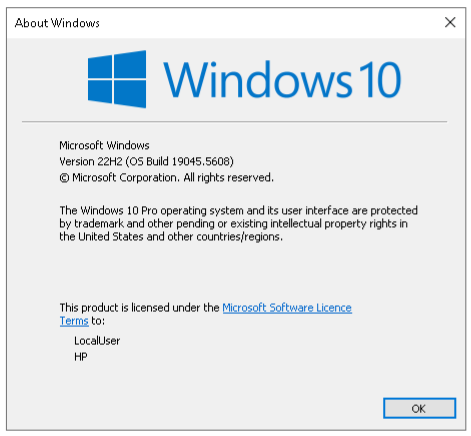
1. Make sure you're on the latest Windows 10 version
Run winver.exe, and make sure you're on version 22H2 (build 19045.3448 or later). If not, run Windows Update until you are.
2. Enroll in ESU
Now, we'll open Windows Update settings (Win+I, then navigate to Update & Security -> Windows Update).
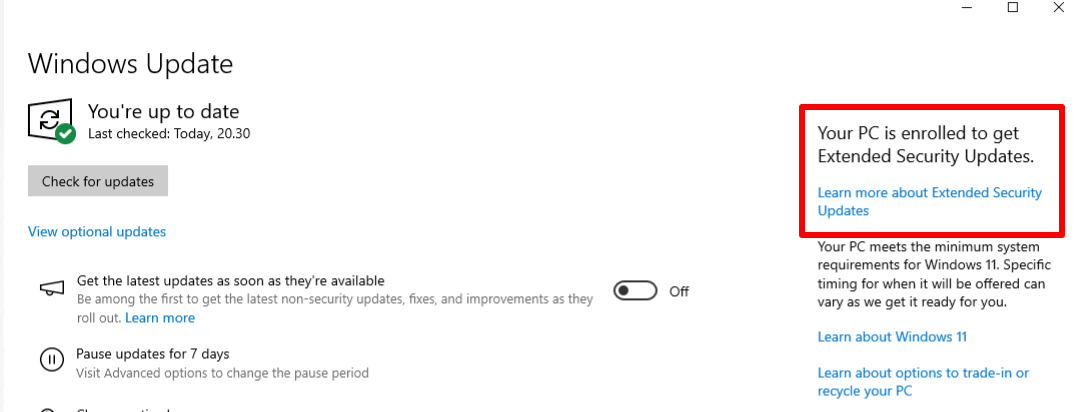
You should see a button called "Get Extended Security Updates" or similar.
If the button was available to you, click it.
That's it! You're good to go for another year.
If it wasn't, fear not - you just failed the coin flip. Like most users, I assume.
Go on to the next step.
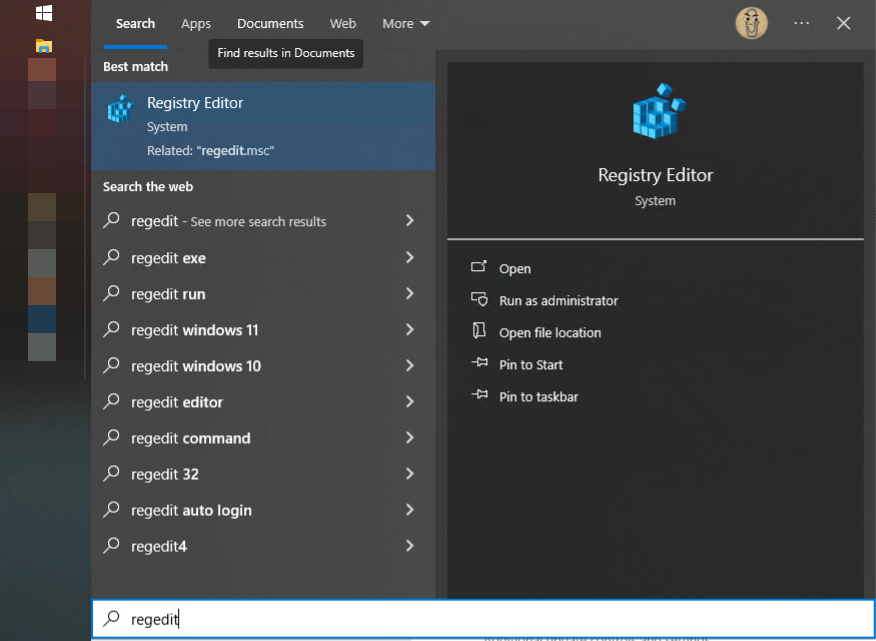
3. Open the "User-Friendly Windows Settings Graphical User Interface" (regedit.exe)
Not having to deal with weird command line tools or configuration files is one of the biggest strengths of Windows. Microsoft has been fantastic at creating graphical user interfaces for everything - including dealing with unholy configurations such as "getting Windows updates".
So, we'll use everyone's favorite tool, regedit.exe, to do the next steps.
Fire it up by pressing Win+R, typing "regedit" and pressing Enter.
Or by searching for "regedit" in the Start Menu.
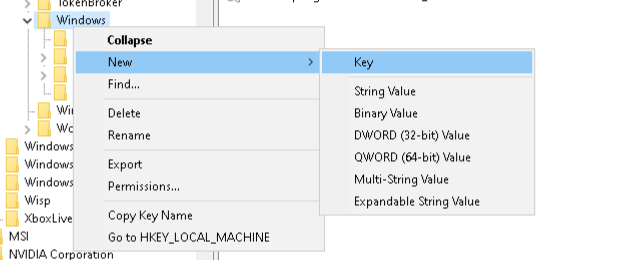
4. Create the right registry key
Navigate to the following key:
HKEY_CURRENT_USER\SOFTWARE\Microsoft\Windows NT\CurrentVersion\Windows
And create a new key under it called "ConsumerESU". Like below:
5. Create new DWORD (32-bit) Values
Now that we're in the right key, let's create the following DWORD (32-bit) Values:
- ESUEligibilityResult
- with value: 1 (indicating "eligible")
- ESUEligibility
- You have 2 options for the value here:
- 2: If you want to go through the proper enrollment process
- 3: If you want to force/YOLO-enroll without going through the proper process (might not work for everyone, but worked for me)
- You have 2 options for the value here:
It should look somewhat like below:
.png)
Don't worry if it doesn't look exactly the same - you just need to have the right key and the two DWORD values with the right values.
6. Navigate to the Windows Update settings again
Depending on mostly what the 8-ball says, you might need to wait for a bit, restart your computer, or just navigate back to Windows Update settings.
It SHOULD be enough to just restart the Settings app and navigate back to Windows Update settings.
Either way, if you took the gamble and entered "3" as the value in the last step, your Windows Update should be back to normal, and you should be enrolled. You should see this:
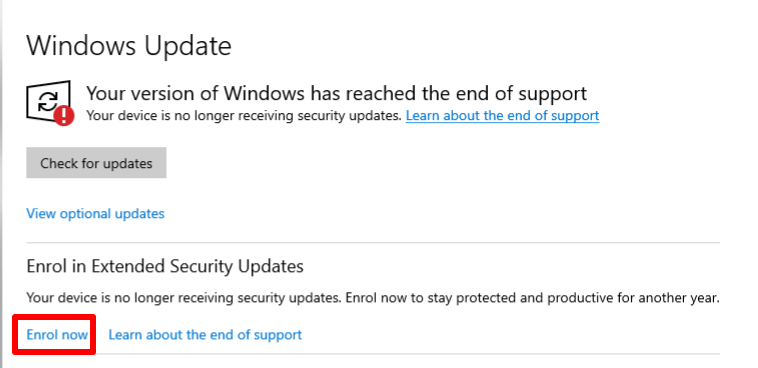
If you wanted to be a good boy and go through the process properly, you should see something like this now:
We're almost there!
7. Click "Enrol now" (or similar)
I guess it'll be localized - it's "enrol" in English and "enroll" in Simplified English.
I kind of prefer the latter - but Microsoft seems to be using both:
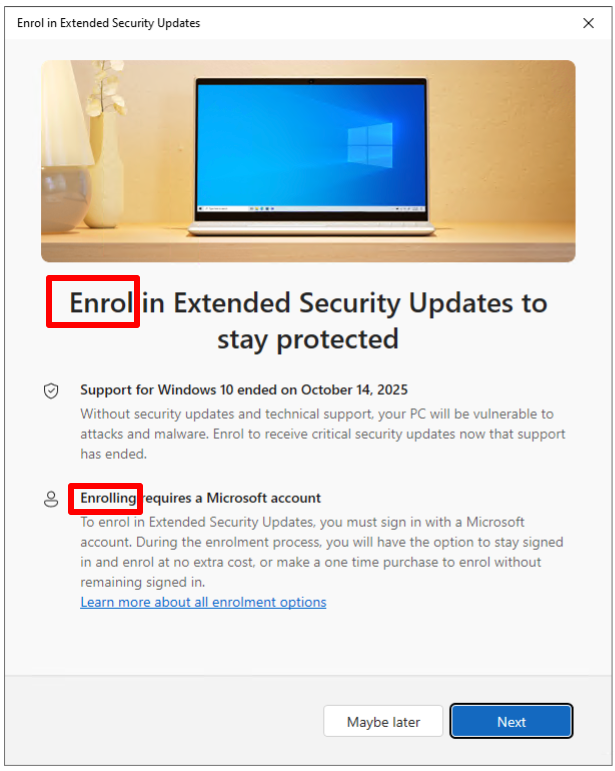
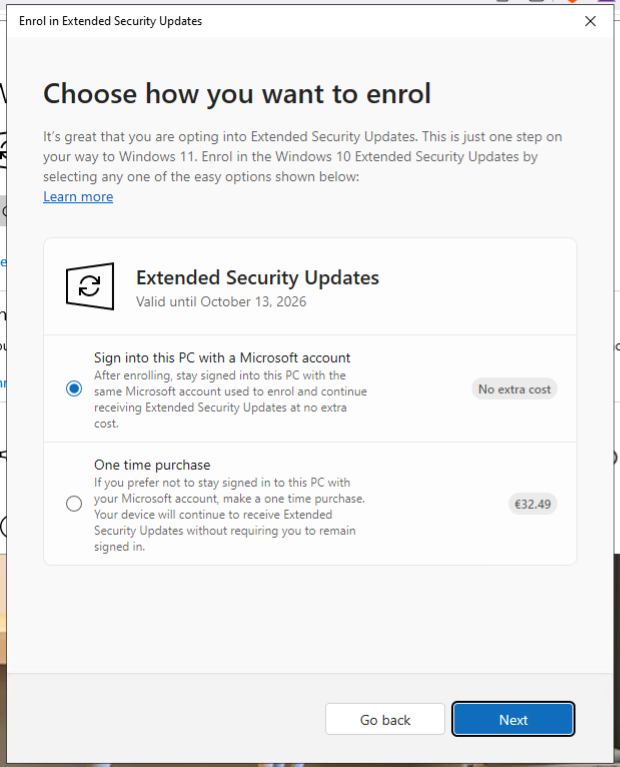
Click "Next", and unless you're one of the luddites who are using a local account instead of a Microsoft Account, you'll be enrolled in ESU for free!
Oh, and if you're unlucky enough to be using a domain-connected account, ask your IT department to pay for the ESU subscription for you. Or if you're an absolute madlad, just add your Xbox Live account as a secondary account to your Windows, sign in with it instead, and enroll that way (you shouldn't see the enrollment link if you're using a domain account).
Alright. That should be it. You can now keep using Windows 10 for another year, receiving security updates and patches.
And all with the cheap price of using a Microsoft account (or selecting "3" in the registry editing step).
What a world we're living in. 🙃
Comments
No comments yet.